Learning Night Photography on a Budget isn’t for everyone, but for those that are looking for this approach, I have outlined how I got into Night Photography using the basics.
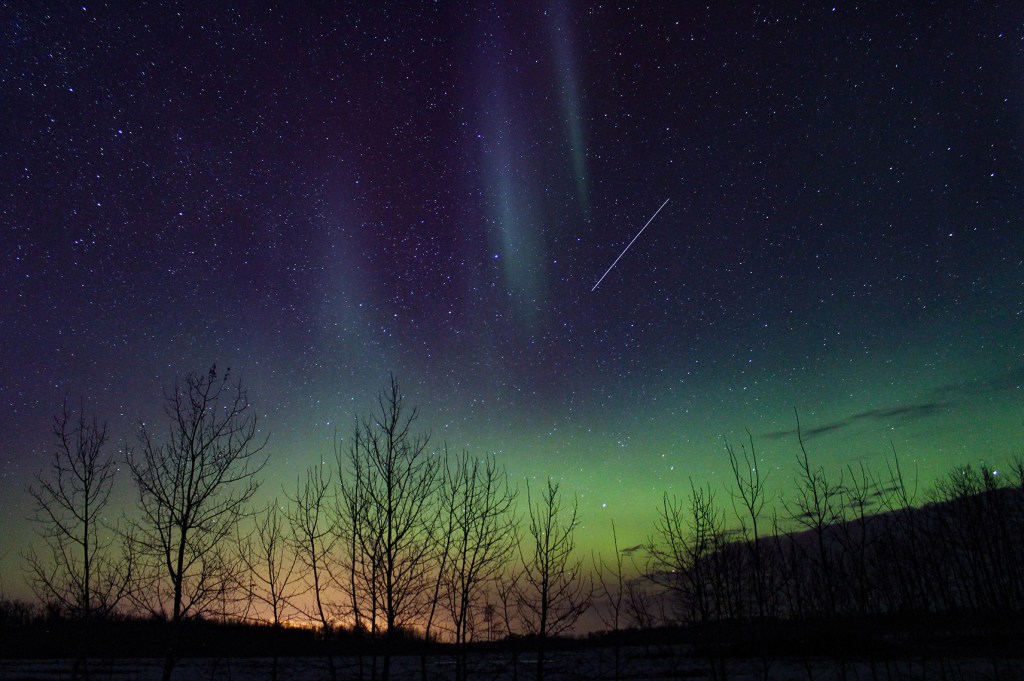
Have you ever wanted to take a photo of the stars? Get that bucket list Northern Lights shot?Getting out to view the night sky or getting into Night Photography can be a great way to get outside alone or in a small group and enjoy the outdoors in a different and unique way. Watching the sky costs nothing and it’s something that can be truly peaceful and a memorable moment while a star shoots by, or the Northern Lights begin to dance.

Viewing the night sky may be free, but photographing it does require gear. However, getting into night photography does not have to break the bank. In fact, I will show you how I got into Night Photography for under $1000. There are many options for gear to get into night photography and for the purpose of this article I will show how I got into Night Photography on a basic budget with basic equipment to allow me to learn and practice before investing further.
1. The Camera
Starter Gear: Canon Rebel t5i & kit lens 18-55mm f3.5, newest Version is the Canon Rebel T7i with a kit lens. The budget friendly option is available here.
Over a year after being gifted my first DSLR, I had decided I wanted to learn to capture the beauty of the Night Sky I was so passionate to watch. After realizing how rare it is to see the night sky as I do, I wanted to be able to share it with others.
My first photo was a green blur on the screen but I was instantly hooked and needed to learn more.
I was using the kit lenses that came with the camera, this meant a 18-55mm f3.5 was capturing my first photos of the night. Although with the crop sensor and the higher aperture did cause noise in my photos, I was still able to learn on the basics.
2. The Lens
My first investment was a new lens, I wanted to be able to shoot wider open, meaning a lower aperture. After hours of research, and knowing my limited budget for my new hobby, I decided on the Rokinon 14mm f2.8, a manual lens that was known for its sharp stars and affordability. It was perfect for what I needed. Another important note about this lens, it can be used on full frame, meaning even though I was currently shooting on the crop sensor Canon Rebel, I knew eventually I would move on to a full frame. This lens allowed me this option. You can still purchase this lens online here.
Note- I did have to return my first copy of the Rokinon 14mm f2.8 due to the infinity focus not aligning properly, so I do recommend you test it immediately and return if you have any problems, the second copy I got was perfect and I had absolutely no problem exchanging it with Amazon. The stars were pin sharp and I was instantly amazed the difference f2.8 made.
I have used this lens for over 4 years now, in some extreme weather conditions and cold temperatures, and have taken thousands of night photos with it. It has been one of the best purchases I made starting out and I highly recommend it for those looking for a basic lens that works great for night photography.
3. The Shutter Release
In order to reduce camera shake and improve focus, using a shutter release is highly recommended. There is an option to use the 2 second timer in camera as well, however I purchased this affordable shutter release so I would also be able to do multiple shots and timelapses by programming my desired shot sequences. For budget photographers looking for an option without a huge investment, this Neewer shutter release is an affordable option.
4. The Tripod
A tripod is a necessary purchase for night photography. Although the more budget options are not as sturdy or stable, I do recommend looking at what best suits your needs. Investing in this area is important. I started with an old tripod I was gifted but quickly invested in the Slik CF 724 and 200DQ ball head as soon as I could. Having a tripod you can use effortless in the dark will save a lot of frustration in the end. However, I did start with a low budget tripod, what I could afford at the time and made use with what I had, until it broke which wasn’t too long after purchase. Investing in a tripod is important to save money in the long run.

5. The Memory Card
Memory Cards are another item to consider when getting your gear. I have been very happy with Sandisk, I started with getting lower memory capacity cards to keep my budget low. This required more file transferring but it worked for me.
6. The Storage
External hard drives are a great idea for backing up your files, since there is so much investment and time going into taking them, keeping them backed up is a stepped not to be missed. I have been super happy with these Seagate portable backups, using them to file my photos by year and keep back up copies.
A computer for file transfer, editing and storage is a key component for photography. I started out with a very basic laptop I used only to transfer files of photos, while I used my cell phone for most of my minor editing and adjustments. This was not an ideal situation, that would take many hours. So having a computer that can transfer files and hold up to editing software is another important step in the process, however it is not necessary for actually taking night photos, it is when it comes to processing them afterward.

After practicing and learning with my most basic equipment, after a couple years I did upgrade to the Canon 6D camera and continued to use the Rokinon 14mm until I could continue to invest in my hobby. Taking gradual gear investment steps has allowed me to properly research and understand my needs for new equipment. It has allowed me to focus on the basics of learning and not get overwhelmed by the technology. I have gradually added more equipment and investment which I will cover later, but for now I hope this leaves you with an encouraging point of view on how I got started capturing the Northern Lights on a budget.
The Break Down to Getting Started in Night Photography for around $1000:
Entry Level DSLR Camera $600
Rokinon f2.8 Lens $35
Shutter Release $20
Tripod $100-$300
Memory Card $20
Hard Drive $80
Determination and patience is a requirement, and having any equipment doesn’t change that! Once you have some gear, here’s some tips for getting out to photograph at night.
Please note this article represents my true opinions, and experiences. It also contains affiliate links that would provide me a small percentage, at no additional cost to you, if you choose to purchase. The support is appreciated.

Does that lens work with a mirror less camera? Can it work on a Nikon camera?
LikeLike
This one is for canon, but I think they have a Nikon version as well.
LikeLike
Do you give photo tours?
LikeLike
Currently working on releasing something! If you sign up to my email list, I will be sending out the info there first!
LikeLike